


4 top tips for maximum success with outdoor digital signage
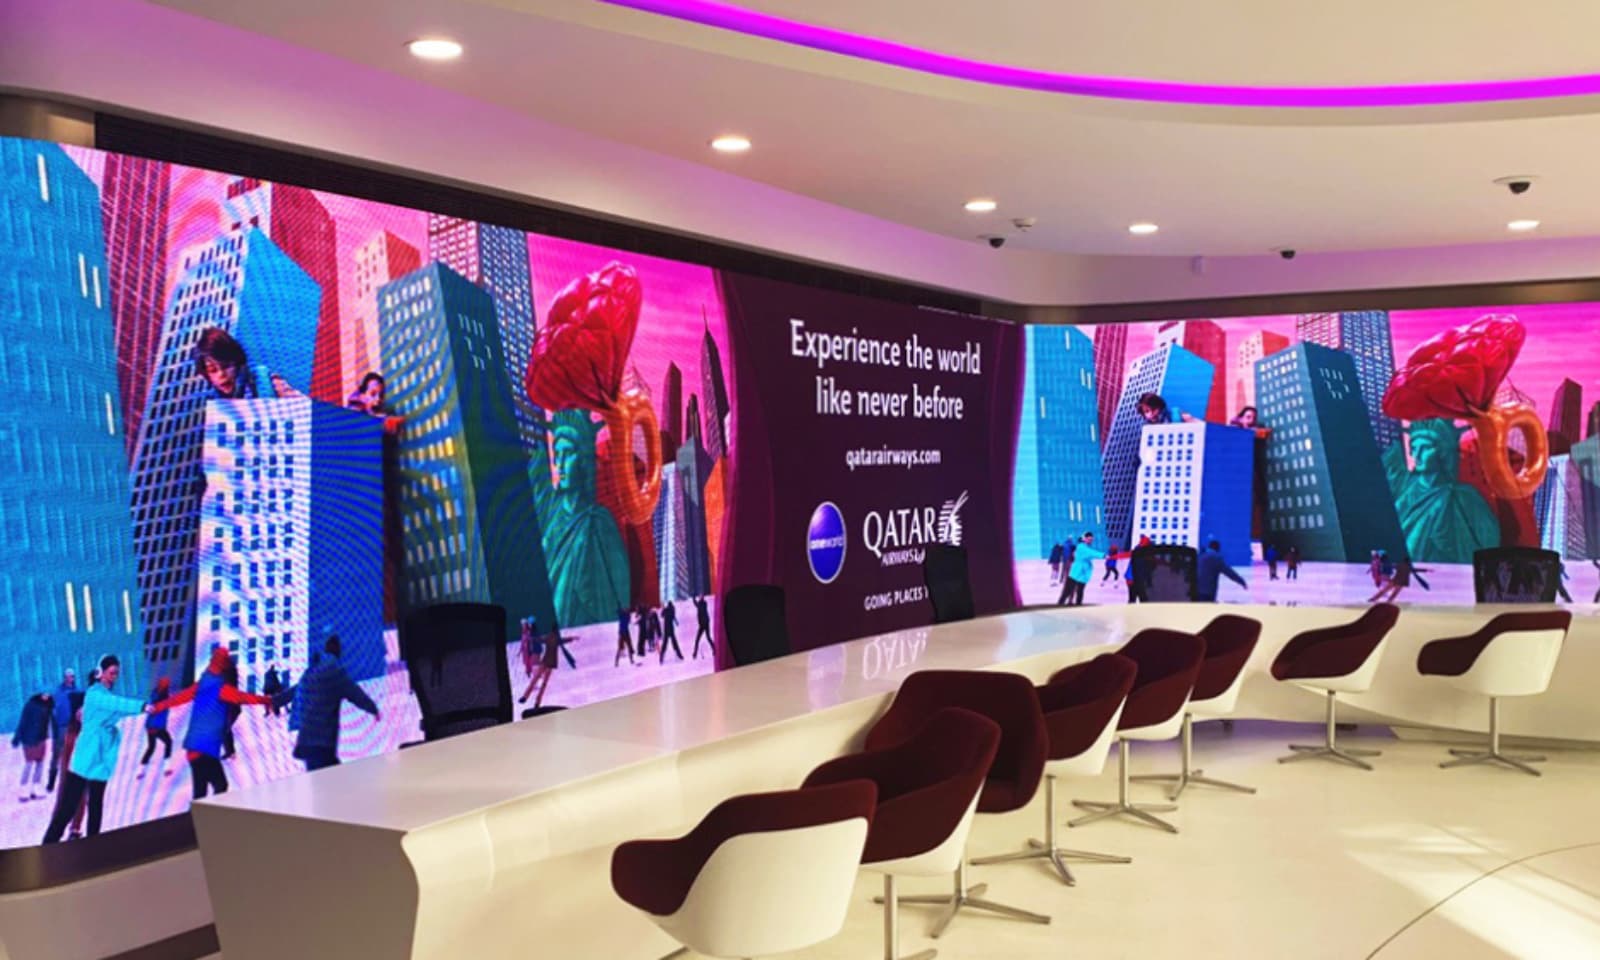
Outdoor digital signage gives your team a powerful way to share messages, drive engagement, and support marketing campaigns in real-world environments. When you install a bright, weatherproof LED screen in the right location, you’re effectively create an attention-grabbing display that can deliver visual content around the clock. And to get the very most of your screen it helps to control every aspect of how it’s used – from physical placement to content formatting to environmental response.
With more than 40 years of experience to our name here at Scanlite, we’ve got no shortage of tips on where to focus, what to plan for, and how to maximise clarity, visibility, and impact. Here’s what we’d suggest!
Plan your content with the location in mind
You’ll need to plan content layouts based on where people stand, how fast they move past the screen, and what types of information they’re able to take in. When you install signage on a roadside for example, your audience might have less than two seconds to register a message. If you place the screen in a pedestrian area on the other hand, viewers may stop and watch for much longer. Ideally, it’s best to design your media assets for each situation – large fonts, fewer words, bold contrasts, and strong timing cues for moving foot traffic. Clear visual hierarchy helps viewers absorb what matters most, even if they only glance at the screen in passing.
It’s also important to test content visibility from multiple angles and distances. They should walk the same path your audience walks and check what shows up clearly from 5, 10, or 20 metres away. You can run A/B variations of layouts with live content on low-traffic days to see which designs actually draw more focus. Your content strategy needs to reflect the physical space – it’s not just a matter of uploading slides or playing back a generic video. Your screen sits in a specific location, and your content needs to feel like it belongs there.
Set your screen brightness for changing light
This is a really important one – ideally, it helps to adjust screen brightness to suit different lighting conditions throughout the day. When morning glare or direct sunlight hits the panel, your team can raise the brightness levels to preserve clarity. When the sun dips and shadows lengthen, they can scale the brightness down to avoid harshness or glare. If the screen is too dim, your message may fade into the background. If it’s too bright, it overwhelms nearby lighting and becomes uncomfortable to watch. Either way, people ignore it!
You’ve got a couple of options here. You can use automatic brightness sensors, especially in areas that get sudden light changes from weather shifts or building shadows. Your team can set a baseline range and let the system make incremental adjustments based on live readings. If that’s not viable for whatever reason, instead you can assign someone to monitor screen visibility at key intervals – for example, mid-morning, early afternoon, and dusk. When you tune the brightness correctly, your content stays visible and inviting without looking out of place. You keep the message clean, and you make sure every part of the display serves its purpose.
Position the screen for maximum attention
Before you install any screen, it’s best to carry out a visibility study to map out lines of sight, sun direction, viewer dwell times, and local movement patterns. You want your screen to face the path of travel – not at an angle, not hidden behind fixtures, and not pointed toward empty space. Try and look for clear approach lines where people naturally walk or drive toward the screen location. Your team can use chalk markers, cardboard mock-ups, or test rigging to check how the screen appears from different distances.
Once you’ve set the direction, it’s then a matter of ensure that the height, tilt, and orientation are set to support the most common viewing angles. That means ensuring no branches, poles, or building features block the screen from any primary viewpoint. Your aim is to make the content impossible to ignore – not by being intrusive, but by being perfectly positioned. If your viewers don’t have to strain or shift position to take in the content, they absorb it more easily and remember it longer. Good screen positioning goes a long way towards helping with that.
Use short animations to hold focus
As we’ve often covered on the blog here at Scanlite, people often respond to movement before they process text or imagery. A gentle flicker, swipe, or flash can nudge the eye toward a key section of the screen. Your team can use this to create flow – for example, animating the entrance of a headline or guiding the eye from one side of the panel to the other. These animations should last no more than two or three seconds. (Anything longer can become distracting or visually noisy.)
It’s also best to keep the loop duration short. If a viewer sees a 30-second clip but only stands in front of the screen for five seconds, they might miss the key point. Ideally, try and set your loops to 10–12 seconds where dwell time is low, and no more than 20 seconds in areas with longer pause times. Every animation should serve a visual cue or deliver a message segment. Avoid decorative transitions or full-screen effects that draw attention away from the actual message. Keep it sharp, clean, and focused on action.
Those are just a couple of the key points off the tops of our heads! If you need any more specific help or advice, don’t hesitate to get in touch with our team here at Scanlite. With more than four decades of experience to our name and our very own on-site manufacturing facilities here at Scanlite, we’ve got all the expertise and resources we need to make your vision a reality. To find out more how we can help you, feel free to give us a call today on 01253 302723!